
7 Common Rebar Coupler Mistakes and How to Avoid Them
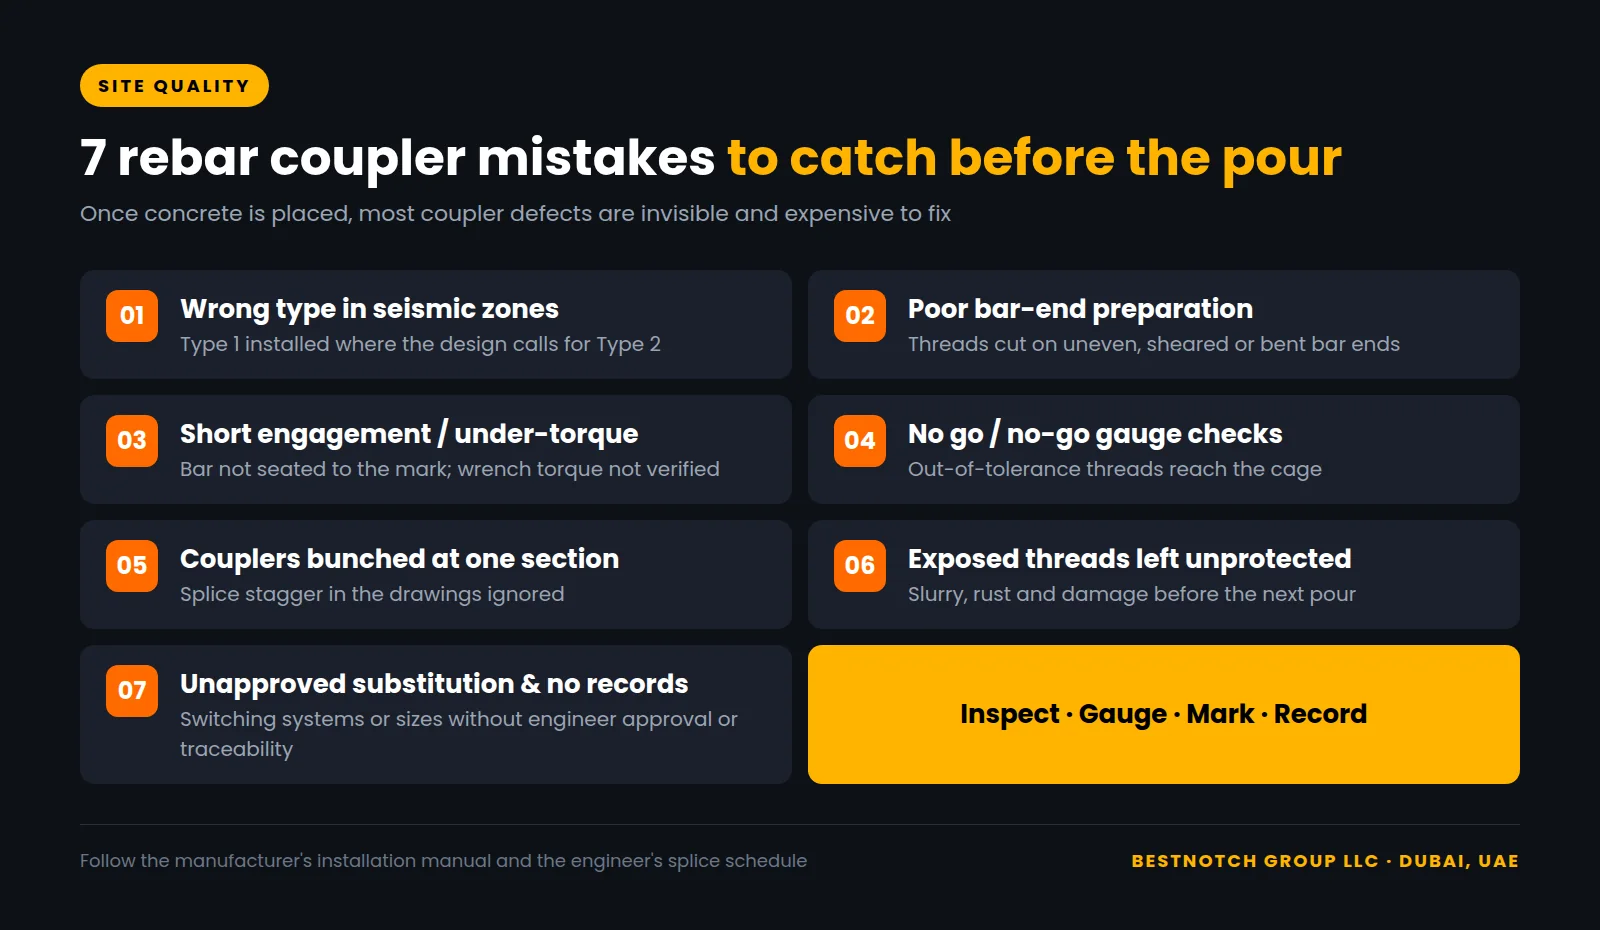
Most coupler failures are not product failures. They come from installation and specification errors that nobody can see once the concrete is poured.
The most common rebar coupler mistakes are installing Type 1 where Type 2 is specified, poor bar-end preparation, short thread engagement or under-torque, skipping go/no-go gauge checks, bunching splices at one section, leaving threads unprotected, and unapproved substitutions without records. Each one can be prevented with gauging, position marks, torque checks and a signed inspection record before the pour.
Why coupler mistakes are so costly
A mechanical rebar coupler is only as good as its installation. Laboratory tests prove the system. On site, strength depends on correctly prepared bar ends, full thread engagement and the right coupler in the right place. Once concrete is poured, a short-seated coupler looks exactly like a good one. That is why the mistakes below matter so much.
1. Installing Type 1 where Type 2 is required
Under ACI 318, a Type 1 splice must develop 125% of the bar’s specified yield strength. A Type 2 splice must also develop the bar’s specified tensile strength. In special moment frames, Type 1 splices are not permitted within twice the member depth of a column or beam face, or wherever the bar is likely to yield. Mixing the two up is invisible after the pour and is a serious structural non-conformance.
Mark the coupler type on the splice drawings, keep Type 1 and Type 2 stock physically separate and colour-coded, and check the type against the drawing during the pre-pour inspection.
2. Poor bar-end preparation
Threads cut on a bar end that is sheared at an angle, bent, or damaged by the cutting process will not engage properly. For parallel-thread systems the bar end should be saw-cut square, and if the system uses an enlarged (upset) end it must be formed correctly before threading.
Avoid it: cut ends square with a saw, check the forged head dimensions, and keep threading dies sharp and changed at the manufacturer’s recommended intervals.
3. Short thread engagement or under-torque
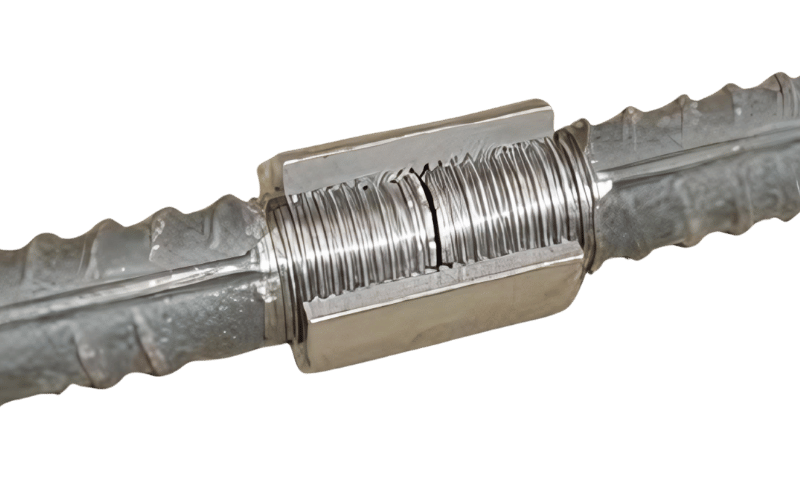
This is the most common site defect. A bar that is not screwed fully into the sleeve carries its load on fewer threads, so strength and slip performance drop sharply.
- Mark the engagement lengthPaint or mark each bar at the required insertion length before assembly.
- Assemble to the markThe mark should sit at the coupler face, with no more exposed thread than the system allows.
- Torque-check where specifiedUse a calibrated torque wrench to the manufacturer’s value and record a sample of joints.
- Cut and test samplesMany specifications require periodic saw-cut or tensile samples to prove engagement.
4. Skipping go / no-go gauge checks
Thread gauges are the fastest quality check there is, and they are often skipped under programme pressure. Every threaded bar end should pass the go gauge and fail the no-go gauge. A thread that fails is recut or the bar end is cut off and re-threaded. It should never be forced into a sleeve.
5. Bunching couplers at one section
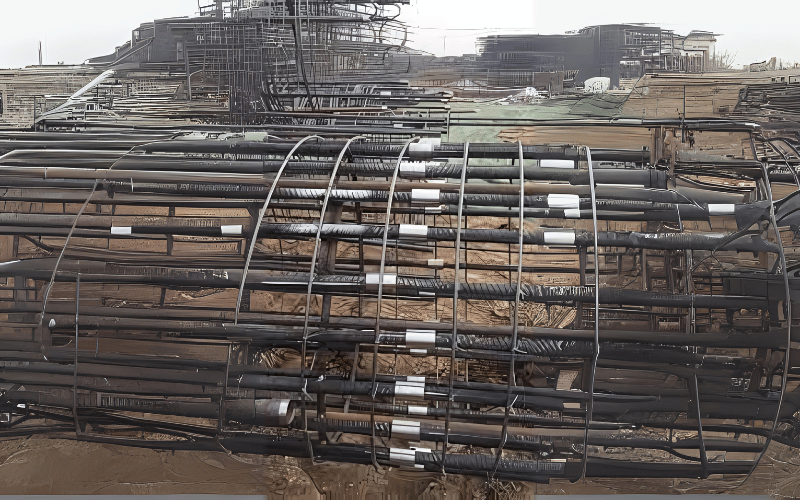
Structural drawings often stagger splices so that not every bar is joined at the same cross-section. When crews line up all couplers at one level for convenience, they ignore the design intent and concentrate risk in one plane.
Avoid it: follow the splice schedule for stagger, and check the level of the splices in columns and walls as part of the inspection.
6. Leaving threads and couplers unprotected
Starter bars and cast-in couplers often wait days or weeks for the next pour. Uncapped threads collect slurry, rust and impact damage. In the Gulf’s heat, humidity and chloride exposure this happens fast.
Avoid it: fit plastic protection caps on every threaded end and open coupler, clean threads before assembly, and never hammer a damaged thread straight.
7. Unapproved substitutions and missing records
Swapping to a different coupler brand or system mid-project, using a coupler outside its tested bar sizes or grade, or connecting badly misaligned bars without approval all void the test evidence behind the design. Without records, nobody can prove what was installed.
Avoid it: use only the approved system, get engineer sign-off for any change, and keep an inspection record for each pour. The record should cover the system, batch or heat numbers, location, gauge and torque checks, and who signed it off.
Pre-pour coupler inspection checklist
- Correct coupler type and size at each location, as per the drawings
- Bar ends saw-cut square; threads gauged go / no-go
- Every joint assembled to the engagement mark; sample torque checks recorded
- Splice stagger matches the schedule
- Caps fitted on exposed threads and cast-in couplers
- Batch traceability and inspection record signed before the pour
For the full step-by-step method, see how to install rebar couplers. For the testing side, read ISO 15835 compliance explained.
Frequently Asked Questions
What is the most common rebar coupler installation mistake?
Short thread engagement, where the bar is not screwed fully into the sleeve, is the most common site defect. It reduces strength and increases slip. Marking the required insertion length on each bar and checking torque prevents it.
How do you check a threaded rebar coupler on site?
Gauge each threaded bar end with go / no-go gauges, confirm the bar is assembled to its engagement mark, torque-check a sample with a calibrated wrench, and record the checks before the pour.
Can I use a Type 1 coupler instead of Type 2?
Only where the engineer allows it. ACI 318 does not permit Type 1 splices within twice the member depth of a column or beam face in special moment frames, or where yielding is likely. Type 2 is required there.
Should all couplers be placed at the same level?
No. Follow the splice stagger shown on the structural drawings. Placing every coupler at one cross-section goes against the design intent.
How should cast-in couplers be protected before the next pour?
Fit plastic protection caps on all threaded ends and open couplers, keep them clean of slurry and rust, and inspect and clean the threads before the connecting bar is installed.
Does Best Notch provide installation support?
Yes. Best Notch supports contractors with installation guidance and technical advice for its coupler systems. Contact the Dubai team to discuss site support for your project.
Get couplers and the support to install them right
Best Notch supplies couplers with installation guidance, thread gauges and technical support, so your splices pass inspection the first time.