

How to Install Parallel Thread Rebar Couplers: Step-by-Step
A comprehensive on-site installation guide covering bar prep, thread rolling, sleeve engagement, and quality assurance inspection procedures.
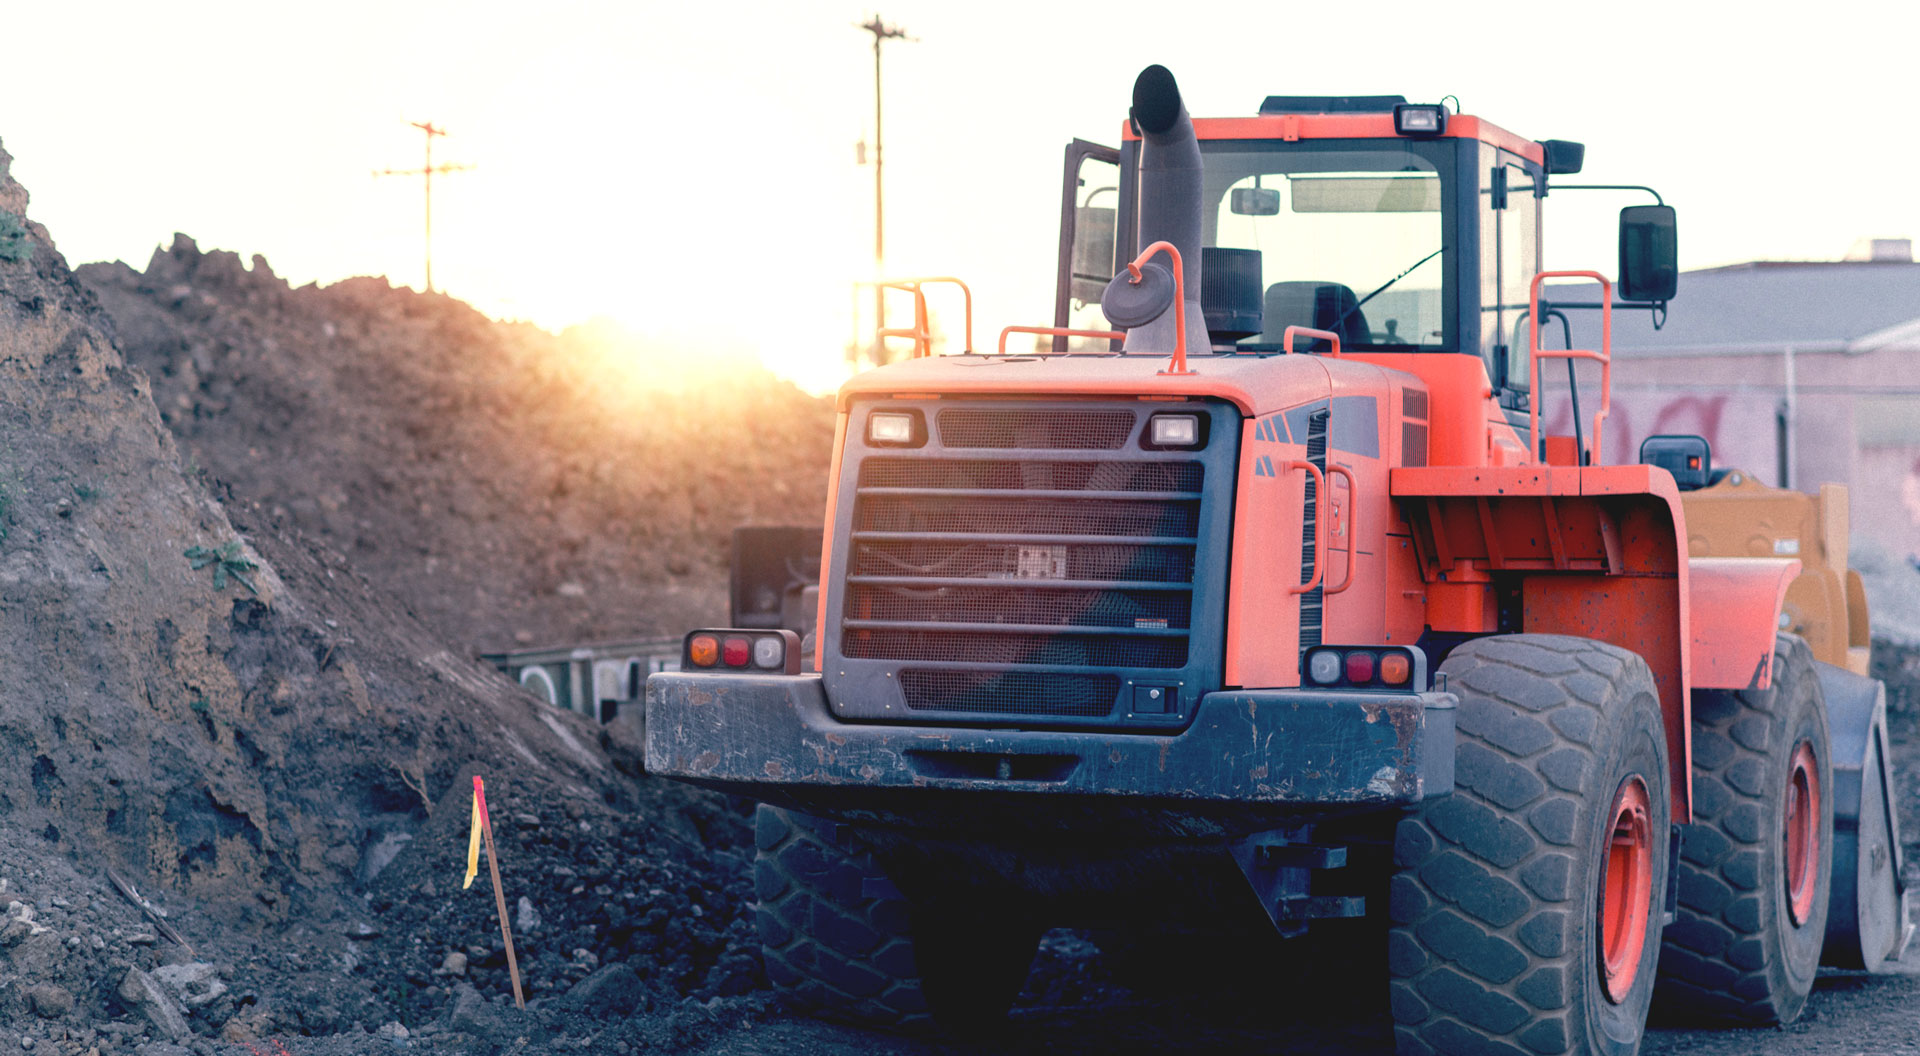
Tools & Equipment Required
Before installation begins, ensure you have the correct thread-rolling machine for your bar diameter, a calibrated torque wrench, thread gauges (Go/No-Go), inspection marking paint, and the BestNotch installation data sheet for your coupler batch.
All bar ends must be clean, free of rust scale, oil, and concrete splatter before threading. Contaminated threads will not seat correctly and may fail under load. Never force a coupler sleeve onto a misaligned thread.

Step-by-Step Installation Process
- Bar end preparation: Cut the bar end square using a disc cutter or bar cropper. Grind away any burrs or scale within 100mm of the cut end.
- Thread rolling: Feed the bar into the thread-rolling machine and engage the correct die set for your bar diameter. Roll a parallel thread to the length specified in the BestNotch data sheet (typically 1.0–1.25 × sleeve length).
- Thread inspection: Use the Go/No-Go gauge to verify the thread profile. Reject any bar where the No-Go gauge passes freely — re-roll is required.
- Sleeve engagement: Apply a small amount of anti-seize compound to the thread (not required for stainless bars). Hand-tighten the coupler sleeve until both bar ends are fully engaged. Ensure the centre reference mark on the sleeve is flush with both bar ends.
- Torque tightening: Using a calibrated torque wrench, tighten to the specified torque value in the BestNotch installation table for your bar diameter and coupler grade.
- Mark and inspect: Apply a paint stripe across the sleeve-to-bar junction on both sides. This serves as a tamper indicator and allows QA inspectors to verify full engagement at any time.

Common Installation Mistakes
- Using undersized die sets — results in threads that appear correct but fail torque specification
- Not checking thread gauge — visually good threads can still be out of tolerance
- Over-torquing — damages thread flanks and reduces clamping force
- Forgetting centre-mark inspection — leaves no QA record and is non-conforming under most inspection regimes
Need On-Site Installation Training?
BestNotch provides on-site installation training and QA support for all projects. Our engineers are available worldwide — contact us from your project location.
Request Training Support →